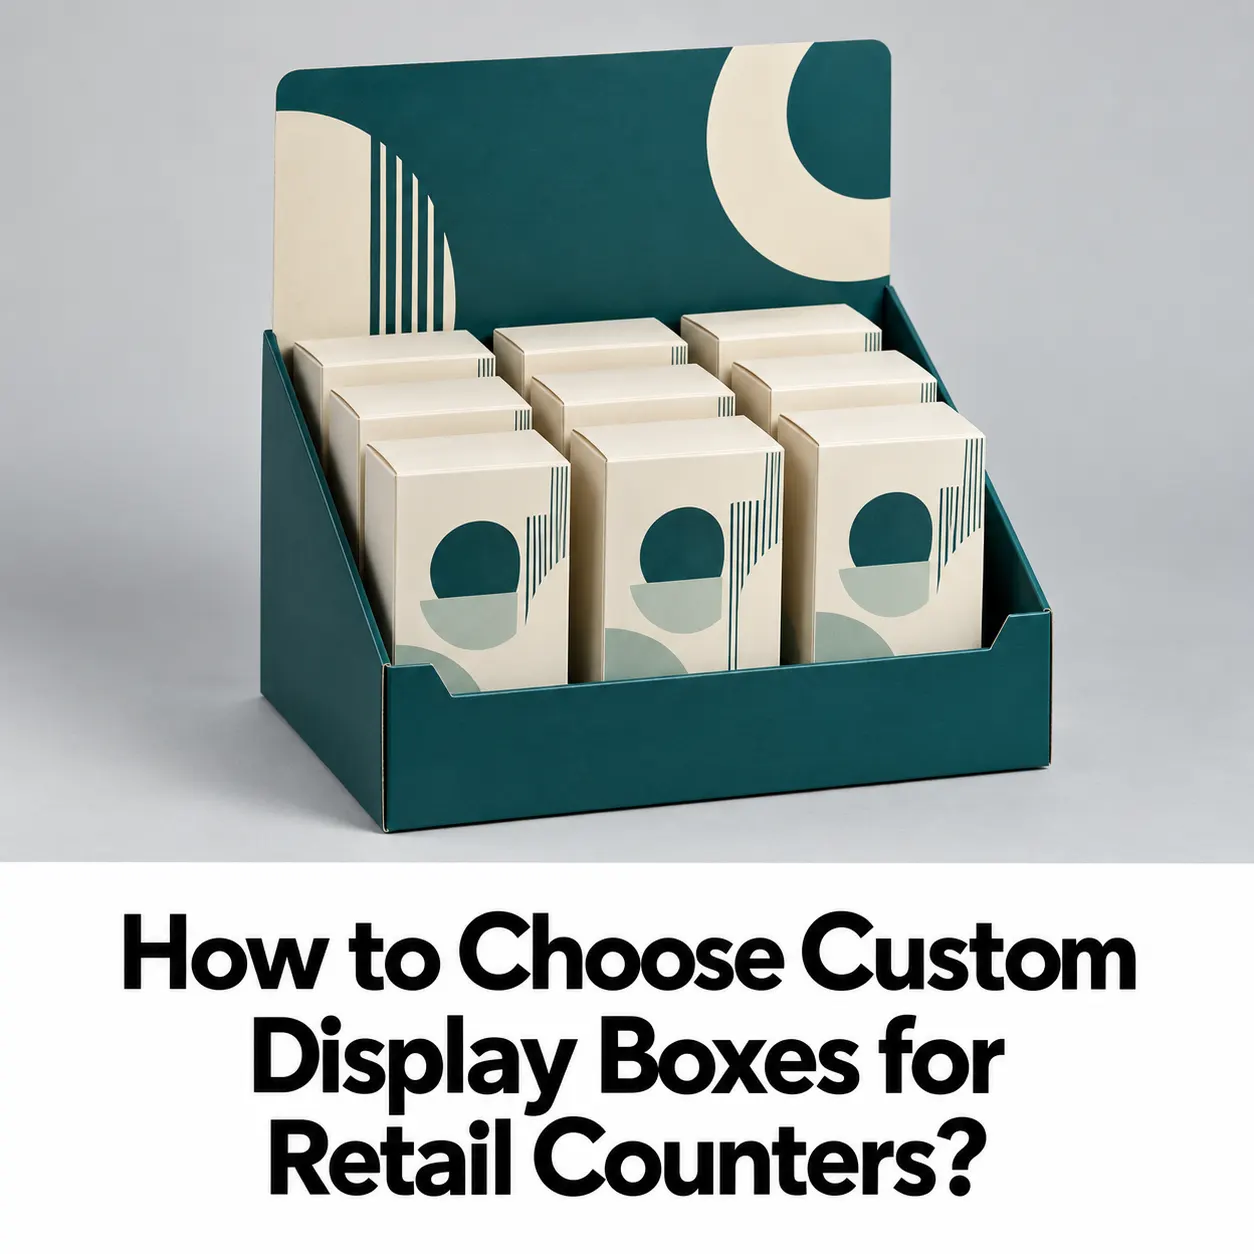
Custom display boxes should help customers see your products, understand the choices, and pick up an item comfortably. For retailers, they also need to fit the available counter space and remain easy to refill throughout the day.
An attractive design is only part of that job. A display may look impressive when it is full but become untidy after customers remove a few products. Another may hold plenty of stock while hiding product names behind a high front panel.
Choosing the right display starts with the selling space, the packaged product, and the way people will use it. This guide ex
plains how to plan custom display boxes around those practical requirements before approving the size and artwork.
Measure the area where the display will sit before deciding how many products it should hold. Record the available width, depth, and height. Include the space needed around payment equipment, existing displays, staff work areas, and customer belongings. A display should not rely on overhanging the counter to fit. Its complete assembled footprint needs to sit within the area the retailer has approved. Also check what is behind it. A tall header may obstruct a sightline or compete with another sign. If the display will be used across several stores, collect the space requirements from those locations rather than assuming every counter is identical. Send these measurements to the supplier alongside your product details.
Use the product in the form customers will purchase it. If an item is sold inside an individual carton, measure that carton. If it has a hanging tab, cap, seal, or outer sleeve, include those features when reviewing the display layout. Record the product’s width, depth, height, and weight. Identify which side should face the customer and whether the item needs support to remain upright. For example, a narrow upright pack may require a different arrangement from a flat rectangular carton. The display should be designed around the intended orientation, rather than forcing the product into whatever space remains. When comparing counter display boxes, check both the overall footprint and the space available for each product.
Display capacity should reflect the retailer’s needs, not simply the largest number of units that can be squeezed inside. Consider how often staff can refill the display, how many product variants it will contain, and how much stock the retailer wants at the counter. A compact display with clear product access may work better for your situation than a deeper design with several hard-to-reach rows. Distinguish between the number of displays you are ordering and the number of products each display will hold. These are separate quantities and should be written clearly in the packaging brief. Ask the supplier to show the proposed row arrangement before approving the dimensions.
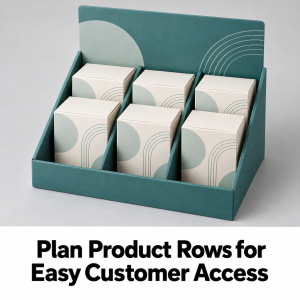
Look at the display from the customer’s position. Can someone identify an item without moving several products? Can they pick it up without catching it on the front wall? Will removing one unit disturb the neighboring row? A good layout should make the arrangement understandable. If you sell several variants, give each one a defined position instead of mixing them randomly. You might place three variants in separate columns, with consistent label orientation across each row. Another product range may need individual compartments. The right arrangement depends on the product shape and how the retailer intends to manage stock.
The front panel provides useful space for branding, but its height needs to work with the products. A panel that is too high may hide product names or smaller packs. A very low panel may provide insufficient support for some items. Review the proposed height using the actual product. Check how much of the pack remains visible when it is sitting in its normal position. Where a lower opening suits the product, front cut out display trays are a relevant structure to compare. Evaluate the opening alongside the side walls and product support rather than choosing it for appearance alone.
A raised header can help identify the brand or product range, but it should have one clear purpose. Decide what customers need to understand first. That might be the brand name, the product type, or a short description that distinguishes the range. Avoid putting every feature, instruction, and promotional message on the same panel. Small text may look acceptable in an artwork file but become difficult to read at normal viewing distance.Check the header with the display fully loaded. The products should not cover the main message, and the panel should remain visible from the intended approach. If the retailer uses separate price labels, plan where those labels will sit.
Material selection should consider the weight and arrangement of the products, along with handling and assembly requirements. Do not choose board solely because an empty sample feels firm. Load the proposed display with the intended quantity of actual products. Check the base, walls, joints, and any internal supports. The structure should remain suitable when staff move it or customers remove items during normal use. When reviewing cardboard display boxes, ask the supplier to recommend construction based on your product information. Avoid specifying a universal board thickness without considering the complete design. If the display needs additional support, discuss that before the artwork is finalized.
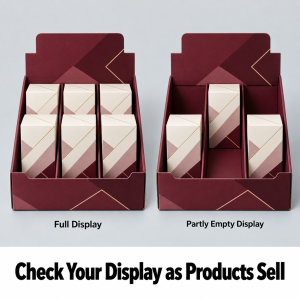
A full display gives you only one view of its performance. Remove products from the front row and inspect the arrangement again. Then try it with approximately half the intended stock. Do the remaining items stay upright? Can customers still distinguish the variants? Does the front panel now cover important information that was visible before? Also check whether staff can move products forward easily when stock becomes low. This simple review helps you judge the display as customers will actually encounter it throughout the day, rather than only at the moment it is first filled.
The outer display and the individual products should look like parts of the same range. Use the approved logo, typography, and color references. Make sure the display does not introduce a different product name or an outdated design. A useful approach is to place the primary branding on the header and use the front panel for supporting identification. Side panels can carry secondary information where it serves a practical purpose. WOW Custom Boxes can review the display artwork alongside your product dimensions and intended layout. Provide the individual pack design as a reference so the finished arrangement can be assessed together. Keep all information readable instead of filling every available surface.
Review the printed finish under lighting similar to the intended counter environment. Look for reflections over the brand name, product description, or price-label area. Check whether the printed colors suit the individual packs when they are placed inside. Also ask how any additional finish affects the quotation and production process. A decorative treatment should serve the design rather than becoming an automatic requirement.If labels will be applied by the retailer, confirm where they will go and test the proposed label on the finished sample where practical. Approve the appearance and usability together.
Ask how the display will arrive and what staff need to do before using it. A flat-supplied design may need assembly. A display delivered with products already inside requires a different receiving and setup process.Request assembly instructions where needed. Test the steps with someone who was not involved in designing the packaging. During the trial, check whether panels fold into the intended position, whether locking sections stay engaged, and whether the header can be set up without confusion. Then refill the display. Staff should be able to add products without repeatedly dismantling the structure or mixing variants.
A clear brief helps the supplier propose a structure that matches your requirements.
| Information | What to provide |
|---|---|
| Counter space | Maximum assembled width, depth, and height |
| Product dimensions | Measurements of the retail-ready product |
| Product weight | Weight per unit and intended loaded quantity |
| Capacity | Units per display and row arrangement |
| Variants | Number of product types requiring separate positions |
| Artwork | Logo, colors, product names, and approved design files |
| Setup | Assembly and refilling requirements |
| Order quantity | Number of display boxes required |
| Delivery | Destination and required arrival date |
Include a photograph of the selling area if available. Use it to explain the placement, while keeping the written measurements as the main reference.
Where sampling is available, use the proposed display with your actual products. Place it within the intended counter area and review it from the customer’s viewpoint. Check the footprint, visibility, access, loaded structure, and partly empty appearance. Have someone assemble and refill it using the proposed instructions. Record any changes before providing final approval. Confirm what the sample represents. A plain structural sample may help assess size and arrangement without demonstrating the final printing or finish. To discuss your requirements, contact the display packaging team with the counter measurements, product details, preferred layout, and order quantity. Request confirmation of pricing, sample availability, and the schedule for your specific design.
Yes. Share the available counter measurements and maximum permitted height. The proposed assembled display should be checked against that space.
Yes. Measure the retail-ready product, including its carton, sleeve, cap, or other features that affect the fit.
Yes. Separate rows, columns, or compartments may be suitable. Confirm how many variants need to be displayed and how staff will refill them.
No. Header height should suit the location, viewing distance, and retailer’s requirements. A taller panel may obstruct visibility or exceed the permitted space.
Yes. Discuss the printable areas with the supplier and prepare artwork for the approved structure.