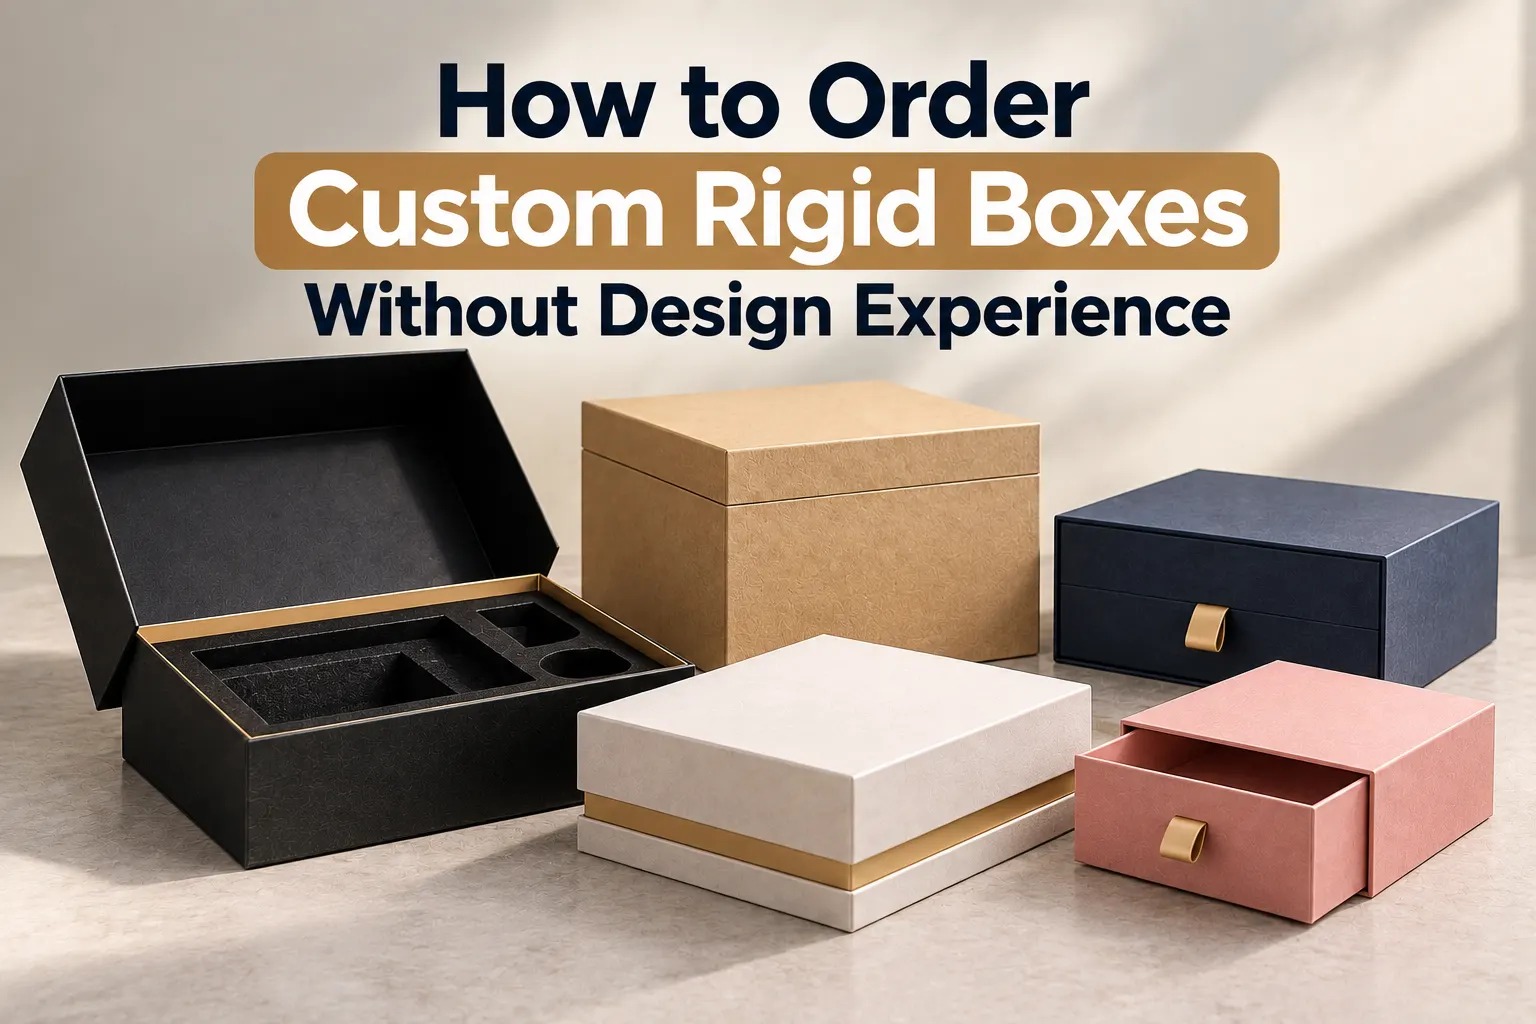
Custom Rigid Boxes are sturdy packaging structures designed around the dimensions and presentation requirements of a particular product. Unlike ordinary folding cartons, rigid boxes use a firm board structure that gives the package a substantial feel and helps it maintain its shape.
Businesses can customize the size, shape, wrapping material, printing, finishing, opening style, and interior arrangement. A rigid box can also include an insert that keeps the product positioned inside the package. This flexibility makes rigid packaging suitable for premium products, gifts, electronics, cosmetics, jewelry, fragrances, watches, and other items where presentation matters.
You do not need to understand every technical specification before ordering. Start by explaining your product, its dimensions, and the type of packaging experience you want. The packaging process can then be developed around those requirements.
First-time buyers often worry about selecting the wrong packaging structure. Custom rigid packaging reduces some of this confusion because the box can be developed around the actual product instead of forcing the product into a standard size.
You can provide basic information such as the product dimensions, weight, quantity, logo, preferred colors, and intended use. From there, the packaging team can help organize the structure and artwork. This approach allows someone without design experience to participate in the process without having to understand every production detail.
The right structure depends on the product, the way customers will open the package, the available interior space, and the desired presentation. Common options include lid-and-base boxes, drawer structures, book-style boxes, magnetic formats, and other customized designs.
Think about the customer experience before selecting the style. Do you want the product to lift out from a lid-and-base structure? Should it slide out from a drawer? Does the package need a fitted insert? These questions can help narrow down the suitable structure without requiring technical design knowledge.
Accurate product measurements should come before box dimensions. Measure the actual product’s length, width, and height. If the product has a cap, lid, handle, accessories, or other components, include them in the measurement process.
Do not estimate the dimensions from memory. Even a small difference can affect the way the product sits inside the package. If an insert will be used, the complete internal arrangement should also be considered.
Avoid making the box unnecessarily large. Excessive empty space can allow the product to move, while a box that is too tight can make loading and removal difficult. The goal is to create enough room for the product and any required internal support.
The box size should relate directly to the product dimensions and interior requirements. Start with the product rather than selecting a standard box size and trying to make it fit.
If you sell multiple products, each item may need its own packaging dimensions. A 30 ml bottle and a 100 ml bottle, for example, should not automatically share the same internal structure. Different product sizes may require different inserts, depths, or box proportions.
The final dimensions should be confirmed through the approved dieline and, when appropriate, a physical sample. This gives you an opportunity to check the actual fit before production.
Yes. An insert can provide a dedicated position for the product and help create a more organized interior. Inserts are useful when a product has a delicate shape, several accessories, or needs a specific presentation position.
Before choosing an insert, explain exactly what will be placed inside the box. Include the main product, accessories, cards, promotional items, or other components that need to travel with the package.
The insert should hold the product securely without making it difficult for the customer to remove. It should also allow the box to close correctly without placing unnecessary pressure on the product.
Drawer-style packaging uses an inner tray that slides through an outer sleeve. This structure creates a different opening experience from a traditional lid-and-base box and can provide separate areas for exterior branding and interior presentation.
The drawer should move smoothly while keeping the product properly positioned. The sleeve and tray also need to work together in terms of dimensions and clearance. If this structure suits your product, Rigid Drawer Boxes can be considered when planning the packaging style.
Some products and gift sets require more internal space than a standard drawer box can provide. A larger drawer structure can accommodate several products, accessories, inserts, or presentation materials.
The size should still follow the actual product arrangement. A larger box does not automatically provide better packaging. The interior should remain organized so products do not move unnecessarily inside the package.
For larger product arrangements, Rigid Drawer Big Boxes can be considered when additional interior space is required.
You do not need a complete brand guideline to start designing custom rigid packaging. A high-quality logo, preferred brand colors, product name, and required product information are enough to begin the conversation.
If you have a vector logo, provide that file because it can be resized without losing sharpness. If you only have a JPG or PNG, send the highest-quality version available. The design team can then determine whether the file is suitable for printing or needs improvement.
Keep your branding consistent across the box. A clear logo, suitable color palette, readable typography, and simple visual hierarchy can create a more organized appearance than a design containing too many unrelated elements.
Printing should support your artwork and brand identity. Full-color CMYK printing can reproduce photographs, graphics, product information, and detailed artwork. Other color specifications may be appropriate when exact brand-color matching is required.
You can also choose between different surface treatments depending on the desired appearance. Matte finishes can create a softer visual effect, while gloss finishes can make colors appear more vibrant. The suitable option depends on the product, artwork, material, and budget.
If you are unsure which printing method to choose, provide your artwork and explain the appearance you want. The packaging team can then help identify the appropriate production requirements.
Finishing can add texture, contrast, or visual emphasis to a rigid box. Common options include foil stamping, embossing, debossing, spot UV, matte lamination, gloss lamination, and soft-touch surfaces.
You do not need to use every finish. Choose the features that support your brand. For example, a simple logo can receive foil while the rest of the box uses a clean matte surface.
A premium structure combined with carefully selected finishing can create a more refined presentation. Luxury Rigid Boxes can be considered when the packaging needs a stronger focus on premium presentation and finishing.
Jewelry packaging requires careful attention to product placement because small items can move or become poorly positioned inside an unsuitable box. A fitted interior can create a dedicated position for necklaces, bracelets, rings, or other jewelry pieces.
The artwork should also remain simple enough to keep the product as the main focus. For necklace products, Custom Necklace Boxes can provide a product-specific packaging direction based on the dimensions and presentation requirements.
Bracelets can also benefit from packaging that combines a compact structure with an organized interior. The box should provide enough room for the bracelet while keeping it positioned correctly during handling.
The exterior can use the brand logo, product name, selected colors, and a controlled finishing treatment. For brands packaging bracelets, Custom Bracelet Boxes can be considered when the packaging needs to be developed around the specific product.
Yes. You can provide your logo, product details, preferred colors, reference ideas, and basic packaging requirements without creating the complete design yourself.
A packaging design team can help arrange these elements on the box template, adjust artwork placement, and prepare the design for production. You should still review the final artwork carefully because you know your product and brand information better than anyone else.
A digital mockup gives you a preview of how the box is expected to look after production. It can help you review the logo position, colors, artwork, structure, and overall appearance before the packaging moves forward.
Do not approve a mockup after only a quick glance. Check every visible panel and compare the design with your original requirements. Look for spelling errors, incorrect product information, misplaced graphics, and design elements that do not match your brand.
If a correction is required, request it before final production approval. Reviewing the mockup carefully can prevent avoidable changes after manufacturing begins.
Yes. A physical sample can provide information that a digital mockup cannot fully show. You can check the actual material, structure, printing, finishing, product fit, insert, closure, corners, and overall feel.
Place the actual product inside the sample whenever possible. Open and close the package several times and check whether the product remains properly positioned. If the packaging includes an insert, confirm that it holds the product without making removal difficult.
A physical sample becomes especially useful when the box has a complex structure, premium finishing, or several internal components.
Before approval, review the complete packaging specification rather than looking only at the front of the box. Confirm the dimensions, structure, material, printing, finishing, insert, closure, and product fit.
Check the artwork carefully for spelling, logo placement, colors, product information, and graphics. If you requested specific finishing, make sure it appears in the correct location and matches the approved design.
You should also make sure that the sample or mockup you are reviewing is the latest version. If corrections were made after an earlier proof, compare the final version with the requested changes.
One of the most common mistakes is ordering without measuring the actual product. Estimated dimensions can result in packaging that is too tight, too loose, or unsuitable for an insert.
Another mistake is using a low-resolution logo or image. A design that looks acceptable on a small screen may not produce the same result when printed across a large packaging panel.
Some buyers also approve artwork too quickly. Always check spelling, product information, colors, logo placement, structure, and finishing before giving final approval.
Overcomplicating the design can create another problem. Too many colors, graphics, finishes, and messages can make the packaging difficult to understand. A focused design can communicate the brand more clearly.
Your packaging budget should account for more than the box itself. Dimensions, material, structure, quantity, printing, finishing, inserts, and other customization requirements can influence the final price.
Ask for a complete quotation that explains what is included. When comparing different options, make sure the specifications are similar. A cheaper quotation may use different materials, fewer finishing options, or a different structure.
Quantity can also affect the overall cost per box. Before placing an order, consider how many products you expect to package and how much storage space you have available.
Prepare a simple packaging brief before requesting a quotation. Include the product name, dimensions, weight, quantity, logo, preferred colors, artwork, box style, insert requirements, finishing preferences, and intended use.
If you do not know the exact box structure, simply explain how you want the package to open and how the product should appear when the customer receives it. This gives the packaging team enough information to discuss suitable options with you.
Reference images can also help communicate your preferred style. The reference should explain the general direction rather than serve as a design to copy directly.
Break the process into simple stages. First, measure the product. Second, decide how the box should open and present the product. Third, provide your branding and artwork. Fourth, review the structure and mockup. Finally, check the physical sample when one is required before approving production.
This approach keeps the project organized and reduces the number of decisions you need to make at one time. You do not have to solve every packaging question before contacting a supplier. Start with accurate product information and a clear description of what you want the package to achieve.
| Check | What to Confirm |
|---|---|
| Product Size | Length, width, and height are accurately measured. |
| Product Weight | Actual or representative product weight is available. |
| Box Style | The opening structure matches the product and customer experience. |
| Insert | Insert requirements and product positioning are confirmed. |
| Logo | A high-quality logo file has been supplied. |
| Artwork | Product information, graphics, colors, and text have been reviewed. |
| Printing | The required printing method and color requirements are understood. |
| Finishing | Matte, gloss, foil, embossing, debossing, or other finishes are confirmed. |
| Mockup | The latest digital mockup has been carefully reviewed. |
| Sample | The physical sample has been checked when required. |
| Quantity | The order quantity matches your expected packaging needs. |
| Final Approval | All requested corrections have been completed before production. |
You do not need design experience to order custom rigid boxes successfully. The process becomes much easier when you begin with accurate product information and work through the packaging decisions step by step.
Start by measuring your product, selecting a suitable structure, deciding whether you need an insert, and preparing your basic branding information. Then review the artwork, printing, finishing, digital mockup, and physical sample before giving final approval.
The most important thing is to communicate your requirements clearly and review each stage carefully. When you are ready to discuss dimensions, artwork, materials, printing, finishing, quantity, or box structure, you can discuss your rigid box order with the packaging team.
Yes. You can provide your product dimensions, logo, colors, product information, and general design preferences while the packaging team helps organize the artwork and structure.
Yes. Custom rigid boxes can be developed around the actual dimensions of your product, including the space required for inserts and accessories.
Yes. A custom insert can create a dedicated space for the product and help organize accessories or multiple components inside the box.
Yes. A digital mockup can allow you to review the artwork, colors, logo placement, structure, and overall packaging appearance before production.
Yes. A physical sample can help you check the actual material, product fit, structure, printing, finishing, insert, closure, and overall construction before approving the larger production order.