
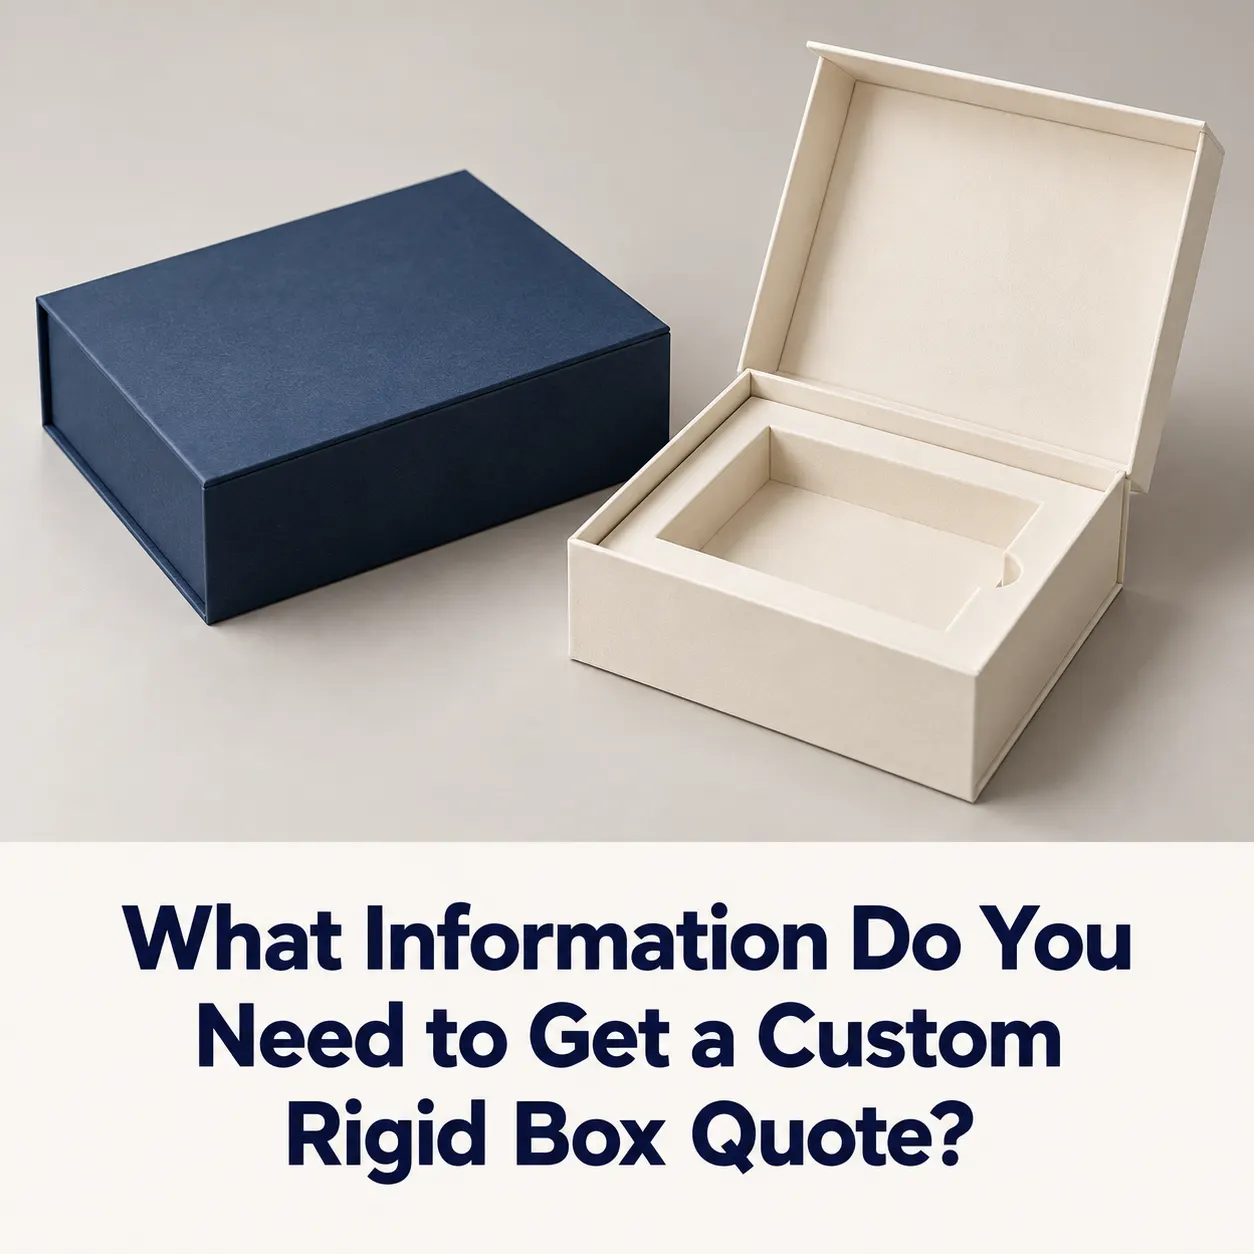
You have a product ready to sell, a logo you like, and a packaging idea saved on your phone. Now comes the question: how much will the box cost?
It is tempting to send a supplier a reference picture and ask, “What is the price for this?” But the same-looking box can have different dimensions, board thicknesses, inserts, and finishes. Those differences affect the quotation.
Getting a useful quote does not require design experience. It requires a clear description of what you need. This guide explains what to send, which details matter, and how to compare packaging quotations without overlooking important costs.
A reference image helps explain the appearance you want. It cannot tell a supplier how much your product weighs, whether it needs cushioning, or how tightly the lid should fit.
Before choosing packaging, describe what the box will contain. Is it one candle jar, a perfume bottle, a necklace, or a skincare collection? Will you include a product card, accessory, or second item?
For example, a gift set containing a jar and two accessories needs a different interior from a box holding only the jar. Even if both boxes have the same exterior color, their material requirements and assembly work may differ.
When exploring custom rigid boxes, begin with the complete product arrangement. That gives the supplier a practical starting point for recommending dimensions and construction.
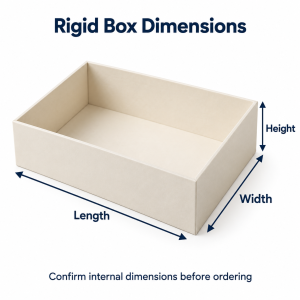
Measure the product’s length, width, and height. Include anything that extends beyond the main body, such as a cap, handle, lid, or attached accessory.
For a cylindrical product, provide its diameter and total height. For an irregular shape, share measurements alongside photographs showing the item from different angles.
Always include the unit of measurement. A measurement written as “10 × 8 × 4” is incomplete unless the supplier knows whether you mean centimeters, millimeters, or inches.
Also explain whether you are providing product dimensions or box dimensions. Internal box dimensions describe usable space; external dimensions include the packaging structure. Mixing them up can create a fit problem.
If you already have a box that fits correctly, share its measurements and explain what you want to change.
Two products with similar dimensions may need different packaging because their weights differ.
A lightweight accessory and a heavy glass jar should not automatically use the same board or insert. The product’s weight helps the supplier assess the base, side walls, interior support, and handling requirements.
Provide the weight of everything that will go inside the package. For a collection, include the combined weight of the products and accessories.
Explain any fragile areas too. A bottle’s neck, a decorative lid, or a polished surface may require particular attention even when the overall product is relatively light.
This information helps move the conversation from “a nice-looking box” to packaging designed around the actual item.
Quantity is one of the first details needed for a quotation. Production setup, material use, printing, and assembly all influence the final cost.
At WOW Custom Boxes, the minimum order quantity for custom rigid boxes is 100 boxes.
If you are considering more than one quantity, ask for separate quotations. For example, you could request prices for 100, 250, and 500 boxes using the same specification.
This makes the comparison useful. You can see how the total investment and per-unit price change without confusing quantity differences with changes in material or finishing.
Choose a quantity that suits your expected sales and storage capacity. A lower per-unit price is less helpful if the additional packaging sits unused or takes up space you need for stock.
The opening style affects construction, assembly, and the customer’s experience. A reference picture is useful here, but a short explanation makes your preference clearer.
You might want a separate lid that lifts off, a tray that slides out, or a hinged cover that closes with magnets.
For a straightforward lid-and-base presentation, two-piece lid rigid boxes provide a familiar format. Specify whether you prefer a shallow lid or a deeper lid that covers more of the base.
If you want the product to slide into view, rigid drawer boxes offer a sleeve-and-tray structure. Tell the supplier whether you want a ribbon pull, finger notch, or another opening feature.
If you are unsure, describe how you want customers to access the product. The supplier can then discuss suitable structures.
The outside attracts attention, but the interior determines how the product sits and how easily customers remove it.
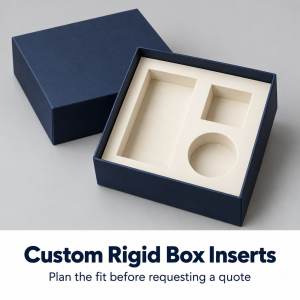
Tell the supplier whether you need an insert, divider, compartment, or open interior. For a set, explain which items should sit next to each other and which should remain separated.
A quick sketch can be enough to communicate the arrangement. Label each item and include its measurements.
Consider removal access as well as fit. A tightly fitted product may look neat but become frustrating to lift out. Finger openings, clearance, and insert depth should be considered during planning.
Ask which insert materials suit the product and budget. Paperboard supports, foam, and other constructions differ in appearance, cushioning, and cost. They should be compared for your specific requirements.
You do not need to know the exact board specification before requesting a quote. You can explain the result you want and ask for a recommendation.
For example:
“I need a firm box for a glass jar, with a smooth printed exterior and a paper-based insert.”
That is more useful than simply asking for the “best material.”
The rigid core and exterior wrapping paper perform different roles. The core supports the structure; the wrap determines the visible surface for artwork and finishing.
Tell the supplier whether you prefer printed white paper, a natural kraft appearance, or a textured surface. If matching an existing package matters, provide a sample or clear reference.
Where possible, review material samples before approving the final specification.
Send the clearest logo file you have. Vector artwork is useful because it can be resized without losing sharpness. If you only have a PNG or JPG, provide the highest-resolution original available.
Explain where printing is needed: outside only, inside only, or both. Include the product name, supporting text, and any required information.
Describe whether the design uses a single color, several brand colors, or full-color graphics. If a particular brand color is critical, provide its color reference and discuss how it will be reproduced.
A supplier can give an initial quotation before every artwork detail is finished, but the printing requirements still need to be clear. Adding interior printing or complex artwork later may change the price.
Foil stamping, embossing, debossing, spot UV, and lamination can change the appearance and cost of the package.
Be specific about where a finish should appear. “Gold foil on the lid logo” is clearer than “luxury gold finishing.”
The size and position of the finished area matter too. A small foil logo and a large foil pattern should not be treated as the same specification.
You can request a base quotation and an alternative with an added finish. This helps you decide whether the visual difference justifies the additional cost.
Avoid adding every available treatment. A clear logo, appropriate paper, and one well-chosen finish may suit the product better than a complicated combination.
Share the delivery destination and the date you need the boxes.
Make it clear whether this is a preferred date or a fixed launch deadline. The supplier needs to consider artwork approval, sample preparation, production, and transit.
Do not assume a production estimate includes delivery time. Ask when the timing begins and what needs to be approved first.
If you are ordering for a launch, allow room for reviewing proofs and making corrections. A deadline that leaves no time for approval can create unnecessary pressure.
Confirm the agreed schedule for your specific order before committing to production.
A quotation is easier to assess when its scope is clear.
Ask whether the price includes the box, insert, printing, selected finishes, and any requested accessories. Clarify sample charges, delivery costs, and applicable taxes where relevant.
Also confirm whether the quoted amount is a per-unit price or an order total.
When comparing suppliers, use matching specifications. Different board, inserts, quantities, or finishing can explain a price difference that initially looks surprising.
A useful quotation should help you understand what you are buying and what would change the cost.
Your Rigid Box Quote Checklist
| Detail | What to Provide |
|---|---|
| Product | Name, photographs, and intended use |
| Measurements | Length, width, height, and measurement unit |
| Weight | Total weight of the contents |
| Quantity | Required order quantity, starting from 100 boxes |
| Style | Preferred opening structure or reference image |
| Interior | Insert, compartments, accessories, and arrangement |
| Materials | Wrapping preference and structural requirements |
| Printing | Logo, artwork, colors, and printed surfaces |
| Finishing | Treatment, position, and approximate coverage |
| Delivery | Destination and required arrival date |
| Samples | Whether a physical sample is requested |
| Quote Scope | Included items and any separate charges |
You do not need a finished packaging design to start. Accurate product information, a realistic quantity, and a clear description of the presentation you want are enough to begin a useful conversation.
Gather the details in the checklist, attach your logo and reference images, and explain anything you are unsure about. You can then contact the packaging team to discuss the specification and request a tailored quotation.
The clearer the brief, the easier it becomes to compare options, review the proposed structure, and choose packaging that suits your product.


